This most excellent information is provide by one of our members- Cathy, screen name AZTreelvr. Cathy is an expert here in Arizona and has created this faq to help people understand how to determine where to plant and how to plant and care for newly planted perennial, shrubs and trees here in the Arizona desert.
I am sure this FAQ will be well read, by newbies to our desert environment, as well as those that have lived here for years.
Our gratitude Cathy- for saving us headaches and heartaches!
The techniques for planting here in the Southwest may be a little different for those of you new to the area. They also differ depending on whether you are planting annuals/vegetables (which is different from the information below) or perennial groundcovers, shrubs and trees. Year-round planting in the desert is possible. The ideal planting time is from September to April. Throughout the cooler months roots can grow, allowing the plants to establish before summer heat.
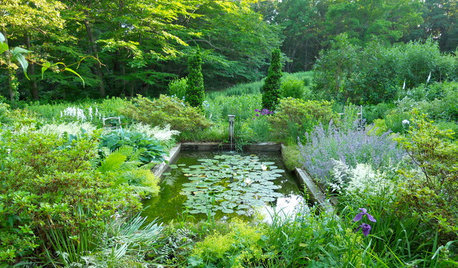
Perennial Plant Selection and Placement
First, look at the area where you plan on putting the new addition. Make sure the amount of sunlight the planting site receives matches the amount the plant requires. Whether the exposure is full sun, partial shade, or full shade will determine which plants can successfully grow there. The reflected heat from walls may be too extreme for many plants, even some desert natives. Likewise, cold air collects in low areas of your yard. Frost-sensitive plants may be damaged in these locations.
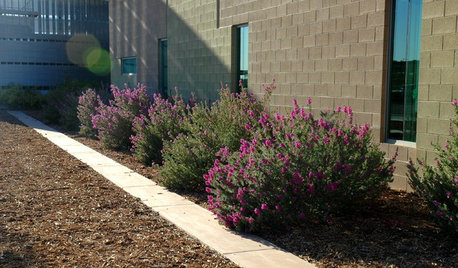
Another important factor to consider is the eventual height and width of the plant. Visualize what the scene will be in 10 - 15 years. Many trees grow to overpower or even endanger the homes they are near. Many shrubs that are placed too close to foundations rub against the exterior walls and cause structural damage. Placing the right plant in the right place will prevent continual maintenance or replacement.
Remember that trees and shrubs can take years to develop into the specimens you see in photographs, and there are some species and varieties that grow faster than others. However, a larger specimen does not always guarantee a faster growing plant. Generally a smaller plant will outgrow one from a larger container within a short time span. Plants that grow too quickly may have weak wood making them vulnerable to wind or storm damage.
Soils in the Southwest are typically alkaline (salty) with a pH of near 8 with a high clay content. The low humidity levels and high air temperatures cause soils here to evaporate rapidly. Look for plants that can tolerate these soil conditions and temperature extremes.
Look for all of the above information on the plant tag or in a resource like the Sunset Western Garden Guide or in the FREE booklet - Landscape Plants for the Arizona Desert.
The University of Arizona provides research-based, non-biased information with no commercial interest (they arent trying to sell you something). A few years ago the U of A published research results done by Dr. Jimmy Tipton on planting trees and shrubs. These standards have been accepted within the landscape industry, but there may be a few folks that have not kept up with the best management practices. The following steps should bring you planting success.
Apply water to the area where you will be planting several days ahead of time. This will make digging much easier. The soil should be moist but not wet and should not stick to your shovel or garden fork.
Till or loosen soil 4-5 times the diameter and no deeper than the rootball. Roots that absorb water and nutrients will grow rapidly in this area so your plant can establish quickly.
Remove soil in the center to create a hole twice as wide but only as deep as the rootball. This prevents sinking which can bury the stem or trunk. The bottom of the hole should be flat.
Check drainage by filling the hole with water. If water can penetrate into the soil, so can plant roots. If water has not drained in 24 hours, a chimney can be added for drainage.
If you are unsure where your utility lines are located, call your local Blue Stake prior to digging your planting holes.
Planting and Positioning (a graphic is contained in the link below)
Always handle the plant by the container or the root ball, never by the trunk or branches or it could be damaged. Place the plant at the same level as it was in its container. Do not pile soil up on the stem or trunk and DO NOT plant too deep. Turn the tree or shrub to face the desired direction. (Cacti are often marked to indicate their south side you should maintain this alignment in your landscape.)
Remove the plant from the container with minimal disturbance to the root ball. Place larger containers on their side and tap the sides and bottom with a hammer or other blunt object. This will usually free the walls so you can slide the root ball out. Gently slide the rootball out of the container and place in planting hole. Handle the tree by the rootball, not the trunk. The top of the root ball should be level with or slightly above the existing soil surface.
If roots are matted or circling, score rootball with a utility knife by cutting lengthwise 1-inch deep in two or three places, cut any circling roots.
Backfill with native soil - no amendments or fertilizer are necessary at this time. Use the soil that was originally removed when digging the planting hole. The result will be a stronger root system and healthier plant.
Planting bare-root trees and shrubs is slightly different. Shape a cone of soil in the bottom of the hole for the roots to rest on. Set the bare roots over the cone and gently tamp down the soil around them.
Post-Planting Checklist
These last few steps can make the difference between success and failure:
Pruning is not recommended except to remove dead or broken branches. Allowing lower branches to remain on the tree for the first year promotes strong trunks and healthy growth it also reduces the risk of sunburn. Some deciduous fruit trees may need to be shaped and thinned to promote fruiting. Use bypass pruners which leave a clean cut. Do not use sealants. Instead, leave the wound exposed to the air and the plant will heal itself. Never cut the top off (called topping) a tree. This creates a huge wound and weak growth which is unsightly and unhealthy.
Staking a newly planted tree is only necessary if it cannot stand without support. Remove the original nursery stake, if there is one present. If the tree cannot stand on its own, use two sturdy poles placed outside the rootball in undisturbed soil. Fasten horticultural tape or wire to the poles and create a loop around the trunk to loosely secure the tree. Allowing the trunk to move slightly within the tie promotes formation of strong trunk tissue. Make sure that the wire does not cut into the tree bark. You can use segments cut from an old garden hose to cushion the cord against the trunk. Inspect and loosen wires periodically as the tree grows. If you are in an area with high winds, consider staking any new tree. Stakes should be removed after the first year.
Fertilizing a newly planted tree or shrub is often debated. Plants from wholesale growers receive abundant fertilizer making the addition of more at planting time unnecessary. Some plants never need fertilizer like most desert trees, cacti and other natives. Wait at least one year after planting to apply fertilizer to other perennial landscape plants.
Watering is not optional. You must water well when planting. Create an area around the plant to collect water by building up a ridge of soil 2"-3" high to serve as a water collection basin. If you have a drip irrigation system, place emitters over the rootball or simply let a hose trickle in the basin. Apply enough water to thoroughly wet the soil to the depth of the root ball. This will remove air pockets without compacting the soil. Remember that as your plant grows the drip emitters should be moved out away from the stem or trunk to below the tips of the branches or "drip line".
Mulching - Apply a 2-4" layer of organic mulch on top of the soil keeping away from the stem or trunk. This slows evaporation and keeps the soil cooler which is important for tender feeder roots located just below the soil surface. As organic mulch decomposes it adds nutrients back into the soil an added bonus.
Follow these steps and your new plant will be a beautiful and healthy addition to your landscape for years to come.
Cathy
Here is a link that might be useful: AZ1022 Planting Container Trees and Shrubs (the standards) which can be found at the Cooperative Extension Website. Change the address below to have the at the beginning. (sorry FAQ page does not allow website addresses to be listed).
/pubs/garden/az1022.pdf


Related Discussions
Too Late to Plant Trees and Shrubs
Q
Too Late to Plant Trees and Shrubs
Q
How late can you plant trees and shrubs in the fall?
Q
When to plant trees/shrubs/perennials this year
Q